
We will be installing Python and PyCharm Community on the operating system Linux Mint. It is a derivative of Ubuntu and Debian. (8GB of RAM is recommended to operate PyCharm, even though I can run it on my 4GB Linux laptop. RAM is cheap. An upgrade from 4GB of RAM to 8GB of RAM will cost between $30 to $50.) Python is already on the Ubuntu and Mint distributions. We will update the version of Python on your Linux distribution. Secondly we will install PyCharm Community. PyCharm can be installed several different ways. We will give two methods. The JetBrains toolkit method, and using Snap at the command line. If for some reason one does not work, try the other.
Why Python? Python is used in web applications, science, and machine learning (artificial intelligence). Even though C++ runs faster, Python development times are much faster. Python is friendly.
We will be using PyCharm as the IDE for Python. IDE stands for Integrated Development Environment, which is a fancy way of saying where you write your code. PyCharm makes programming much easier by organizing your work and putting all the tools at your fingertips.
You must first check your operating system to see if Python is installed.
1.1 For Linux Mint 21.2 xfce at the command line type (dash dash version):
python3 --version
1.2 I suggest an update and upgrade of python. The command python3 will install the latest python3.xxx version:
sudo apt-get update


       sudo apt-get upgrade python3
2.1 Navigate to www.jetbrains.com/help/pycharm/installation-guide.html
2.2 Install the JetBrains Toolbox App for Linux which expedites the installation of PyCharm Community.
2.3 Download the tar.gz toolbox file.
2.4 Extract the tar.gz toolbox file to the Downloads folder on your Linux computer.
2.5 Execute (right click on exe file) the toolbox installer and follow the wizard steps.
2.6 To install a specific version of PyCharm Community, click the icon with three dots and select Available versions.
2.7 Install PyCharm Community
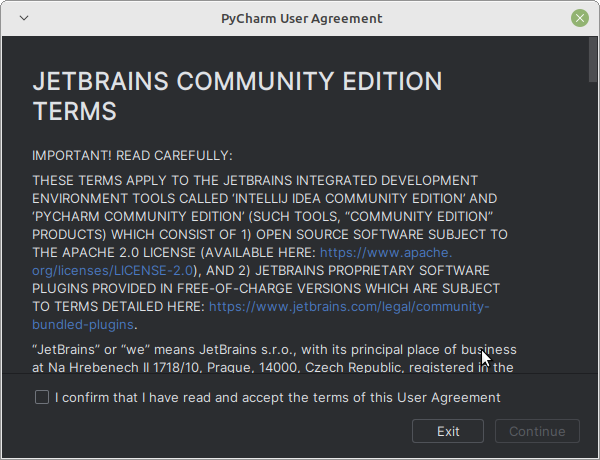
2.8 Opening window. Do not input settings.
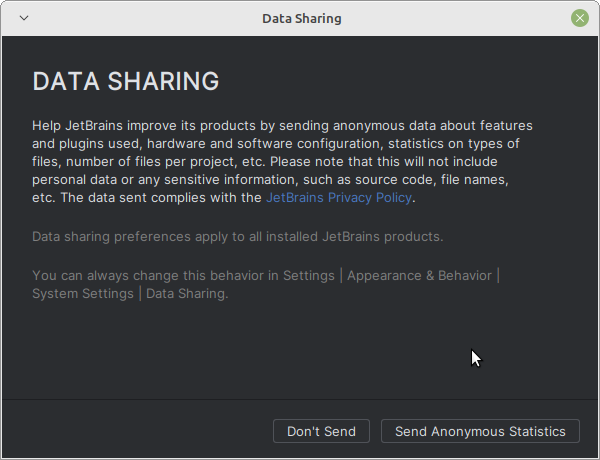
2.9 Data Sharing. Don't Send.
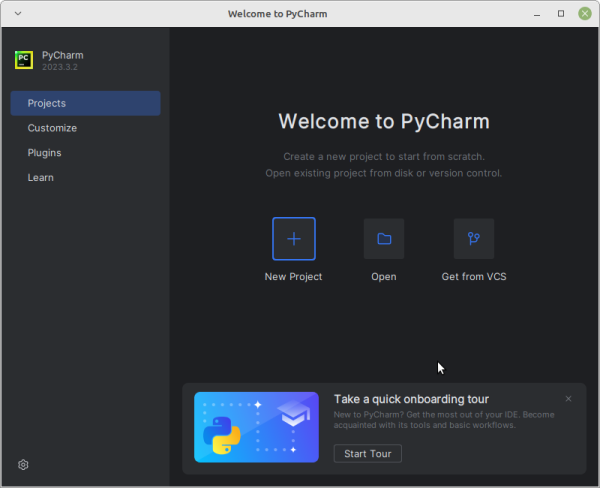
2.10 Welcome to PyCharm. Select New Project.
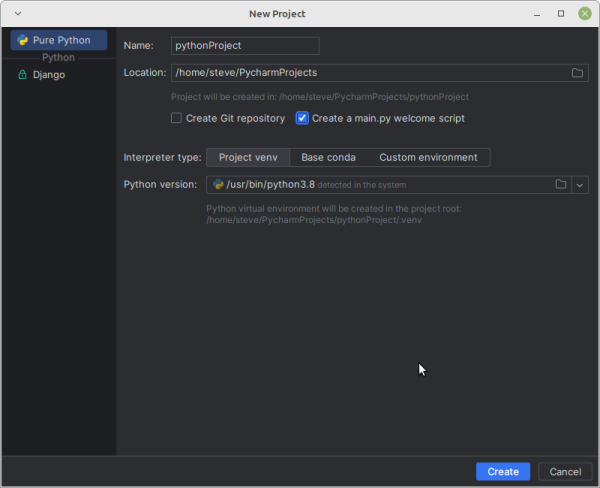
2.11 New Project. Check create a main.py welcome script.
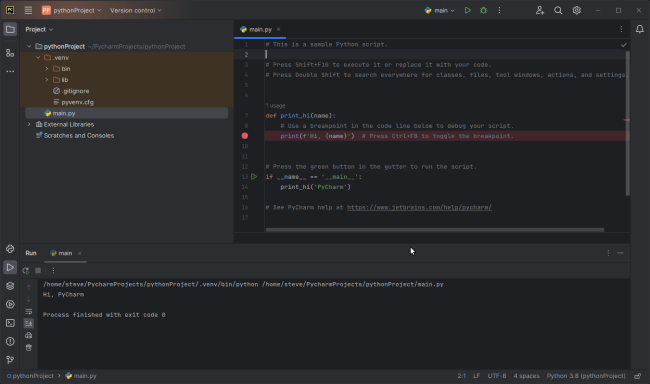
2.12 From the icon with four horizontal lines select Run. Run main.py. Hi, Python will appear in the output portion of the console.
2.13 Right click on the pthonProject. Select New->Python File. Type in the file name Test1, without the py extension. Press Enter. The extension will be added automatically.
2.14 Copy and Paste the plotting program below into Test1.py.
 # import matplotlib to plot graphs

  import matplotlib.pyplot as plt

  import numpy as np

  days = [1,3,5,6,8,]

  temp = [37,34,37,35,34]

  plt.plot(days, temp)

  plt.show()
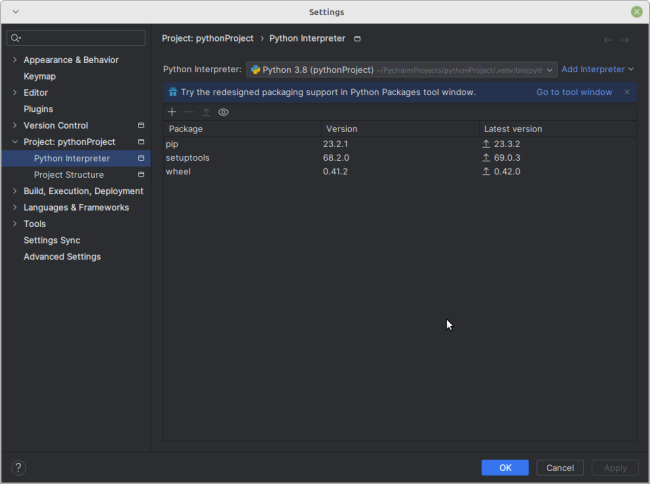
2.15 From the gear dropdown box select Settings. Under Project:pythonProject1 select Python Interpreter.
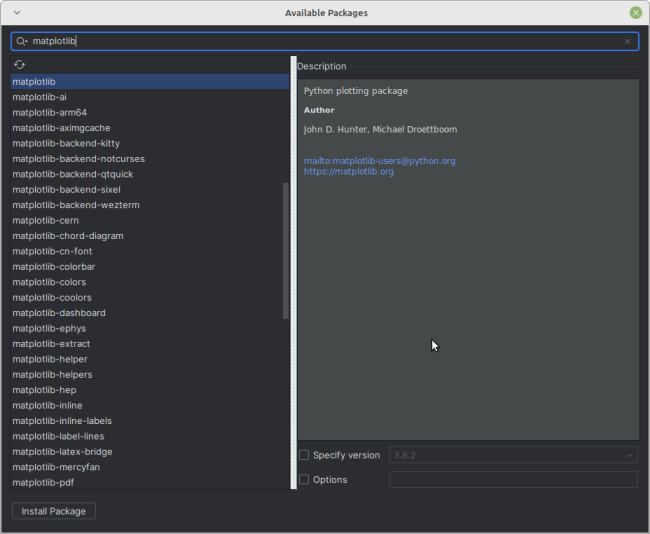
2.16 Click on the plus sign in the Setting window, and type matplotlib in the search bar for Available Packages.
2.17 Refresh the page with the circular arrows icon. Install package.
2.18 Close Available Packages window. In Settings window click OK.
2.19 Run the Test1.py plotting program. Right click on Test1 in Project Column. Select Run. A plot should appear.
2.20 If not, type the following command into the Linux terminal.
sudo apt-get install python3-tk
2.21 Run Test1.py again. It should work.
2.22 We are ready to program.
3.1.0 First we must enable Snap in the command line. Run the following commands at the terminal, one line at a time. Press enter after each command. On Mint we must start by removing nossnap.pref.
         sudo cp  /etc/apt/preferences.d/nosnap.pref /etc/apt/preferences.d/nosnap.pref.original


          sudo rm /etc/apt/preferences.d/nosnap.pref


          sudo apt update


          sudo apt install snapd


        sudo systemctl start snapd


        sudo systemctl enable snapd
3.1.1 Test if Snapd is successfully installed by running the following command. After running the command the output will display Hello World. It may take a minute.
sudo snap install hello-world && hello-world
3.2.1 Now install pycharm-community.
sudo snap install pycharm-community --classic
3.2.2 Type the following in the command line to open the PyCharm application.
pycharm-community
3.2.3 Opening page.
3.2.4 Select Don't Send.
3.2.5 Select New Project.
3.2.6 Check create main.py.
3.2.7 Console window.
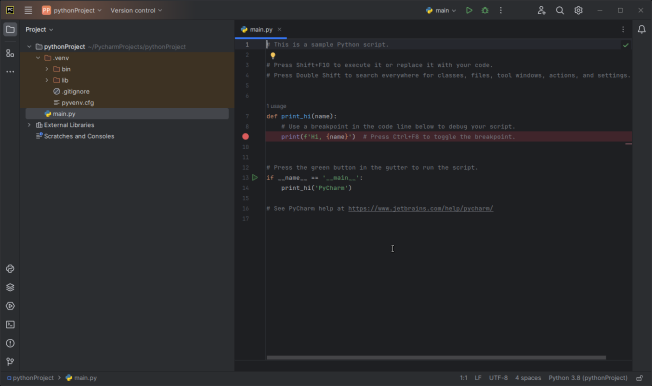
3.2.8 Right click on main.py in Project section and select Run. Hi, PyCharm will display in output section of console.
3.2.9 We will now install the plotting library matplotlib.
First we must perform upgrades in the command line. Run the following commands at the terminal, one line at a time. Press enter after each command.
sudo apt-get install python3-distutils


 sudo apt install python3-pip


  sudo apt-get install python3-tk
3.2.10 We will now install matplotlib. In the console window select Settings from the "gear icon" dropdown box.

3.2.11 The Settings window will open. Below Project:PythonProject in left hand column choose Python Interpreter.
3.2.12 On the Settings window click on the plus sign. The Available Packages window will open. Type matplotlib into the search bar. Click on the circular refresh arrows. Install package. Close the Available Packages window, and click OK in the Settings window.
3.2.12.1 Create a Test1.py file. Right click on pythonProject. New->PythonFile. Type Test1 without the file extension. When you press Enter the file with extension will be created.
3.2.13 Copy and paste the following plot code into the PyCharm console under Test1.py.
 # import matplotlib to plot graphs

  import matplotlib.pyplot as plt

  import numpy as np

  days = [1,3,5,6,8,]

  temp = [37,34,37,35,34]

  plt.plot(days, temp)

  plt.show()
3.2.13 Run the code. Right click on Test1.py in pythonProject section. Run Test1.py. The plot will appear in a new window. We have successfully installed PyCharm Community using Snap. We are ready to program.

4.1 It is always important to save and backup your programs. Save Test 1 (Hello World) with File→Save All. Both the project and the file in the project are saved. Save->All command saves the pythonProject1 to the folder PycharmProjects in your home directory. In the folder pythonProject 1 is Test1.py.
4.2 I suggest signing up for a free Google Drive cloud account. You can store up to 15GB of data free.
5.1 The PyCharm screen is divided into three main parts. The left hand side is the Project Files management pane. The right hand side is the code pane, and at the bottom left is the results pane. It is important to know where your cursor is because it determines the active pane. Be sure the code pane is active when running the code.
6.1 Eventually you will want to add a new project in addition to the one created when we set up PyCharm. Be sure to save the current project with Save All. Go to File→New Project.
6.2 A Create Project window will appear. Type in the new project name, such as pythonProject2 or accept the default. Click Create.
6.3 An Open Project window will appear. Be sure to select Attach. This will add the project to your project list.
6.4 Highlight the project name. Right click on the project to add program files.
