
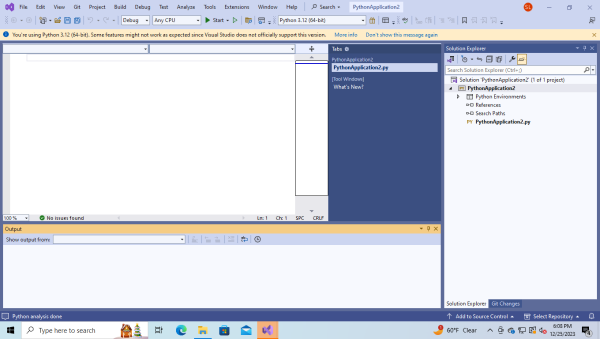
There are many programming interfaces to choose from. Any will work. We use the PyCharm Community interface in this manual. After installation of Python and the interface, all programs will run the same.
Because of package dependencies we must first install Visual Studio Community 2022 by Microsoft. You must sign up for a free Microsoft account. You probably already have one if you have a Hotmail account or use Microsoft Office products.
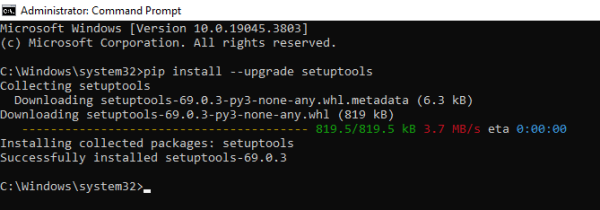
2.0.1 Before we begin the Visual Studio Community 2022 install we will update the Windows setuptools. Type cmd in the Search box. At the Administrator command prompt in Windows run the following command.
pip install --upgrade setuptools
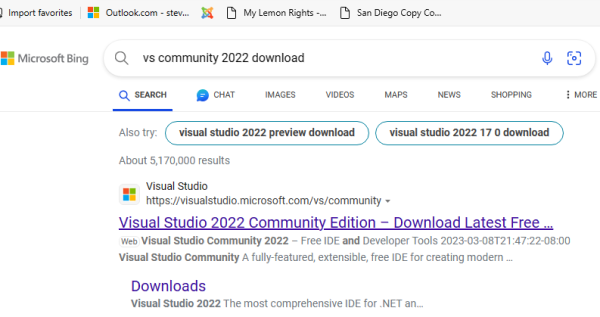
2.0.2 Use Bing to search for vs community 2022 download.
2.0.3 Click on free download. In the download box on your computer click Open file. Continue with wizard.

2.0.3.1 Check Python development. Intall.
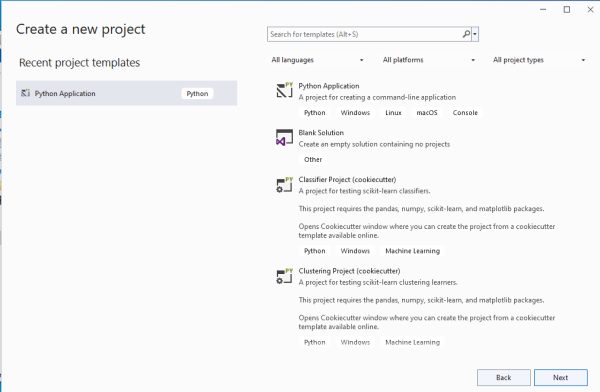
2.0.4 In Visual Studio 2022 click on Create a New Project.

2.0.5 Select Python application.
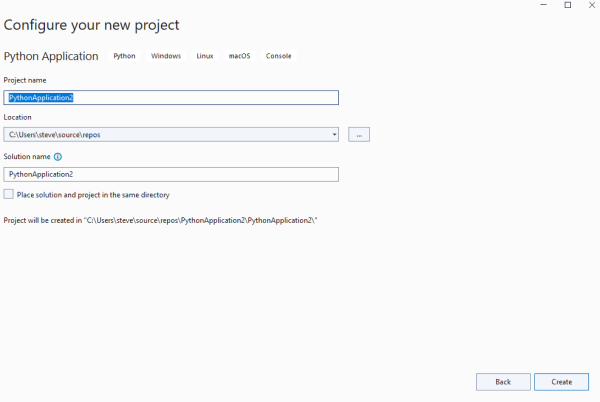
2.0.6 In Configure your new project window, click Create.
2.0.7 The Visual Studio console window will open.
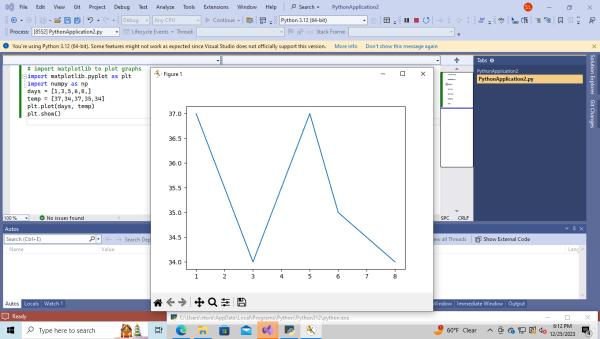
2.0.8 Copy and paste the following plotting program into the console. Run the program from the Start button. The plot will appear. If a plotting program works, all programs should work.
 # import matplotlib to plot graphs

  import matplotlib.pyplot as plt

  import numpy as np

  days = [1,3,5,6,8,]

  temp = [37,34,37,35,34]

  plt.plot(days, temp)

  plt.show()
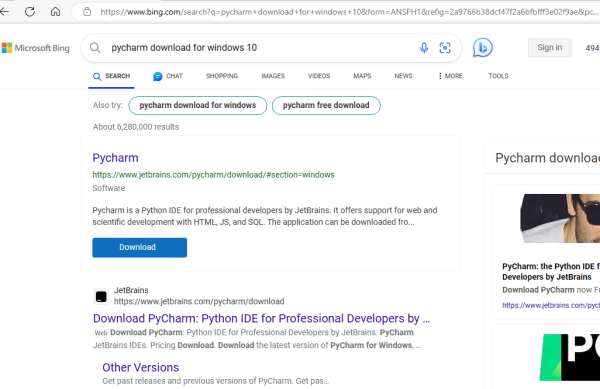
2.1.1 After the Python and Visual Studio Community installations, we will download PyCharm Community. Search Bing for PyCharm download for Windows 10 and select Download.
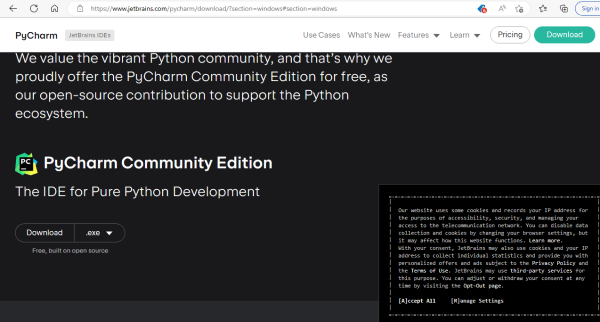
2.1.2 Scroll down page. Download PyCharm Community Edition.
2.1.3 Open file in the download box. The installation window will open.
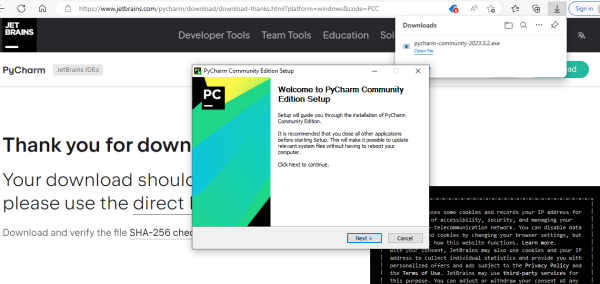
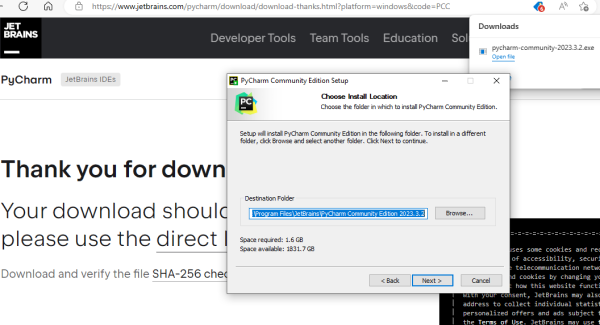
2.1.4 Begin wizard installation. Click Next.
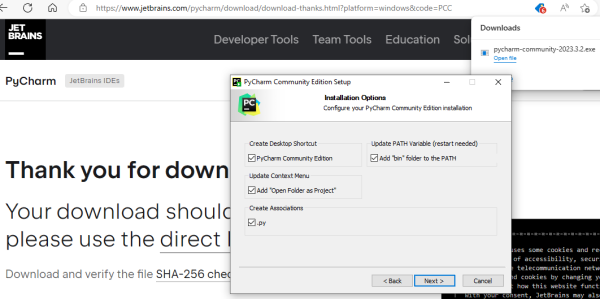
2.1.5 Check all boxes in this window and continue.
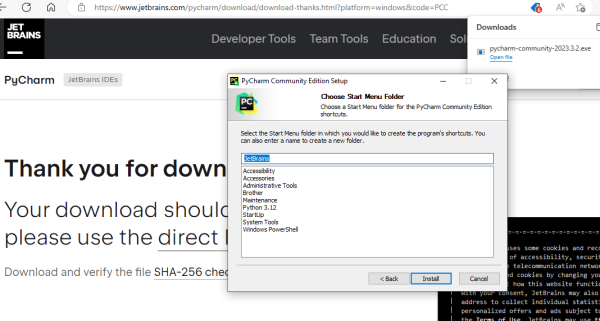
2.1.6 Click Install.
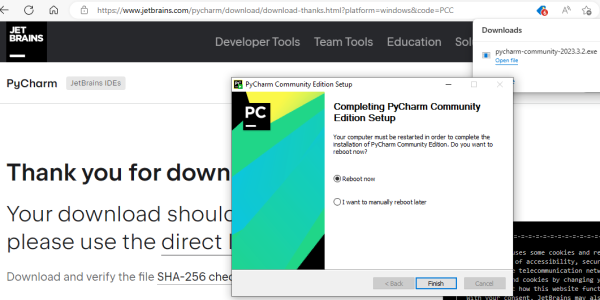
2.1.7 Reboot computer now.
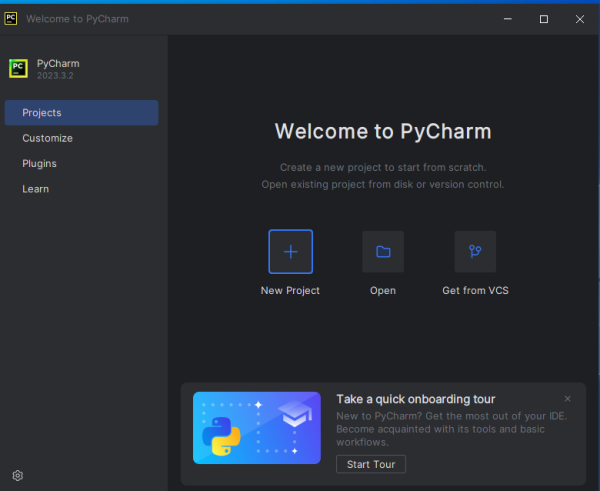
2.1.8 Double click desktop icon for PyCharm.
2.1.8.1 Do not input settings.
2.1.9 Select New Project.
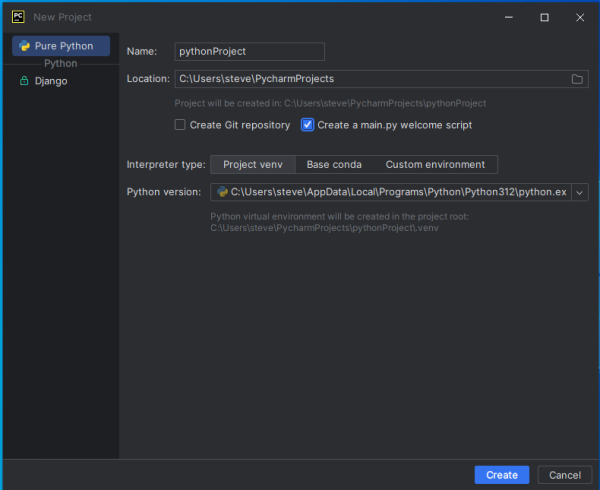
2.1.10 Check Create a main.py welcome script. Continue.
2.10.1 In the console window select the four bars icon. File -> Run -> Run "main". Hi, PyCharm will appear in output section.
2.1.11 IDE for PyCharm main window.

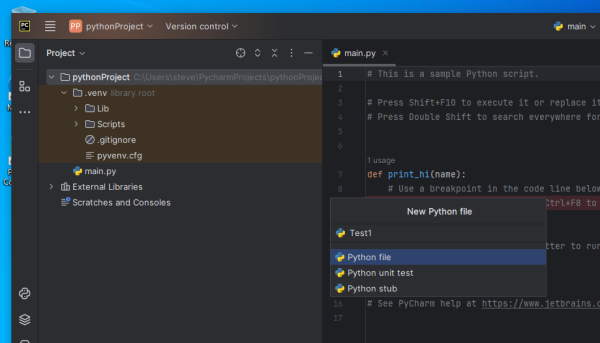
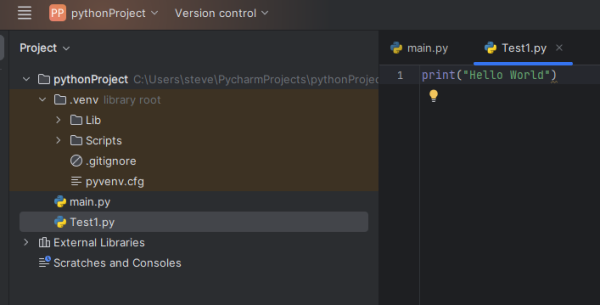
2.1.12 Right click on project name. Select New, and Python file. Type the name of the file Test1. The extension .py will be added automatically after you press Enter.
2.1.13 Type the following text into the console.
print("Hello World")
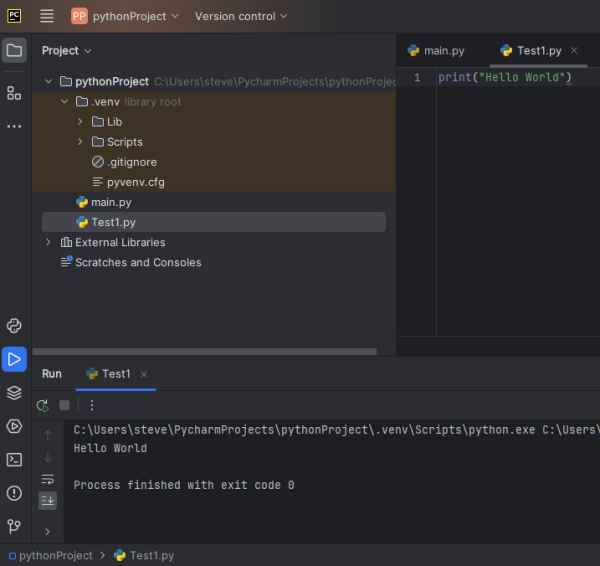
2.1.14 Run the Program Test1.py.The Run command is in the dropdown menu beside the icon in the top toolbar. The icon has four short horizontal lines. Run and Run 'Test1'.
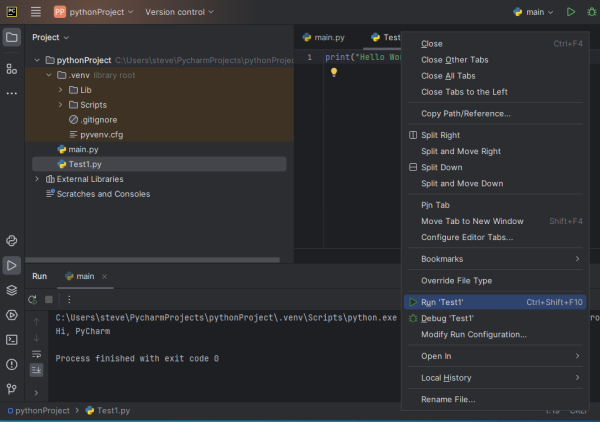
2.1.15 In the next screenshot you see the output Hello World. The output is printed in the lower left corner of the console.
2.1.16 Next we will prepare for a plotting program. First we need to select matplotlib for the interpreter. The matplotlib library allow you to plot. Open Settings in the dropdown box below the gear icon. Select the Project in the left hand column. Select Python interpreter.
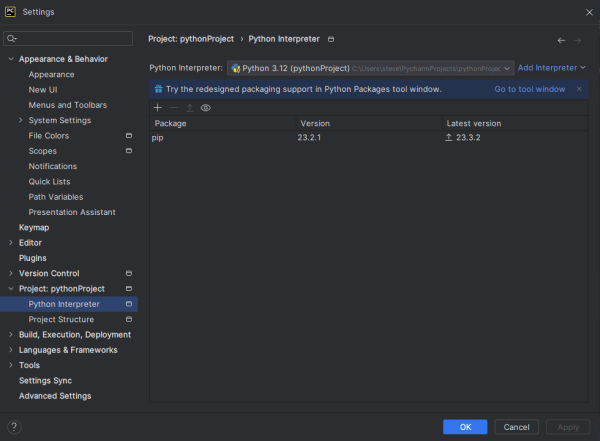
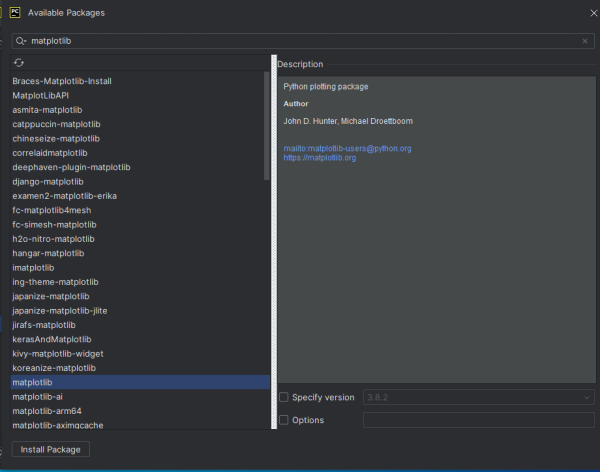
2.1.17 Click on the + symbol to add a package. On the Available Packages screen, type matplotlib in the search bar. Click on the refresh icon.
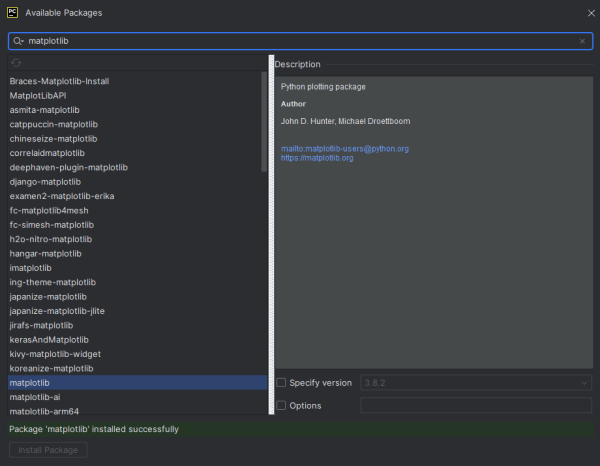
2.1.18 Install Package.
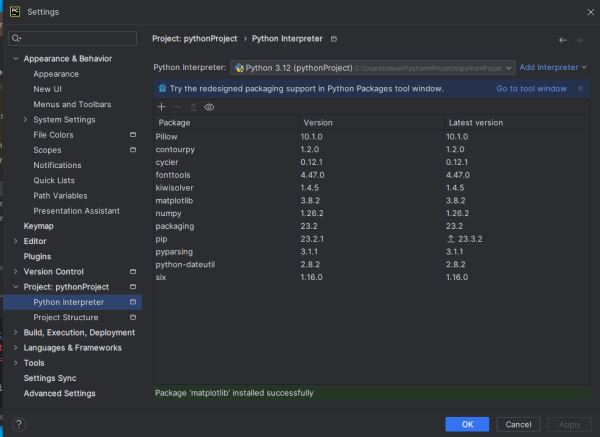
2.1.19 Close the Available Packages window. Click OK on the Settings window.
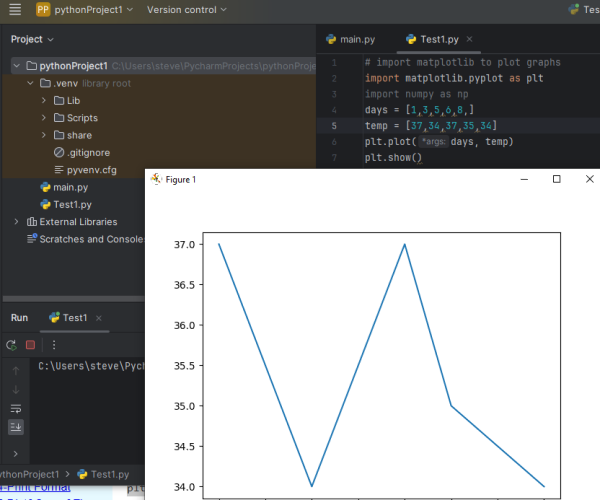
2.1.20 Copy and paste the following plot code into the console. You can replace the code in Test1.py . Run the code. The plot will appear. You have successfully installed PyCharm. We are ready to learn Python coding.
 # import matplotlib to plot graphs

  import matplotlib.pyplot as plt

  import numpy as np

  days = [1,3,5,6,8,]

  temp = [37,34,37,35,34]

  plt.plot(days, temp)

  plt.show()
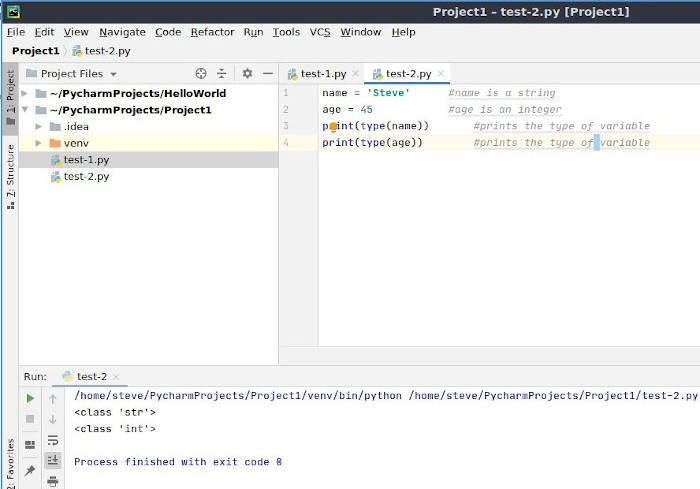
2.2.0 The PyCharm screen is divided into three main parts. The left hand side is the Project Files management pane. The right hand side is the code pane, and at the bottom is the results pane. It is important to know where your cursor is because it determines the active pane. Be sure the code pane is active when running the code. Be sure the results pane is active when entering input values. We must activate the upper left pane with the cursor to use File->New->Python File.
SALARSEN.COM
Table of Contents
Ch1-Install Python
Ch2-Install PyCharm
Ch3-Save Work
Ch4-Add Project
Ch5-Variables
Ch6-Print&Input
Ch7-Lists
Ch8-Loops
Ch9-If&Logical
Ch10-Functions
Ch11-Bubble Sort
Ch12-Plotting
Ch13-Files
Ch14-Print Format
Ch15-Dict&Comp&Zip
Ch16-Arrays
Ch17-Electrical
Ch18-Regression
Ch19-Differential
Ch20-Secant
